


CHIM Remote Hosting Guide
This page covers the local network setup where Skyrim runs on one PC and the heavier CHIM services run on a second machine. The main thing this guide solves is getting the second machine's WSL-hosted CHIM services reachable from your gaming PC.
Remote Hosting Guide
Basic Setup Idea
The old CHIM wiki guide was built around a two-PC LAN setup. PC A is the machine you actually play Skyrim on. PC B is the machine that runs the bigger AI stack.
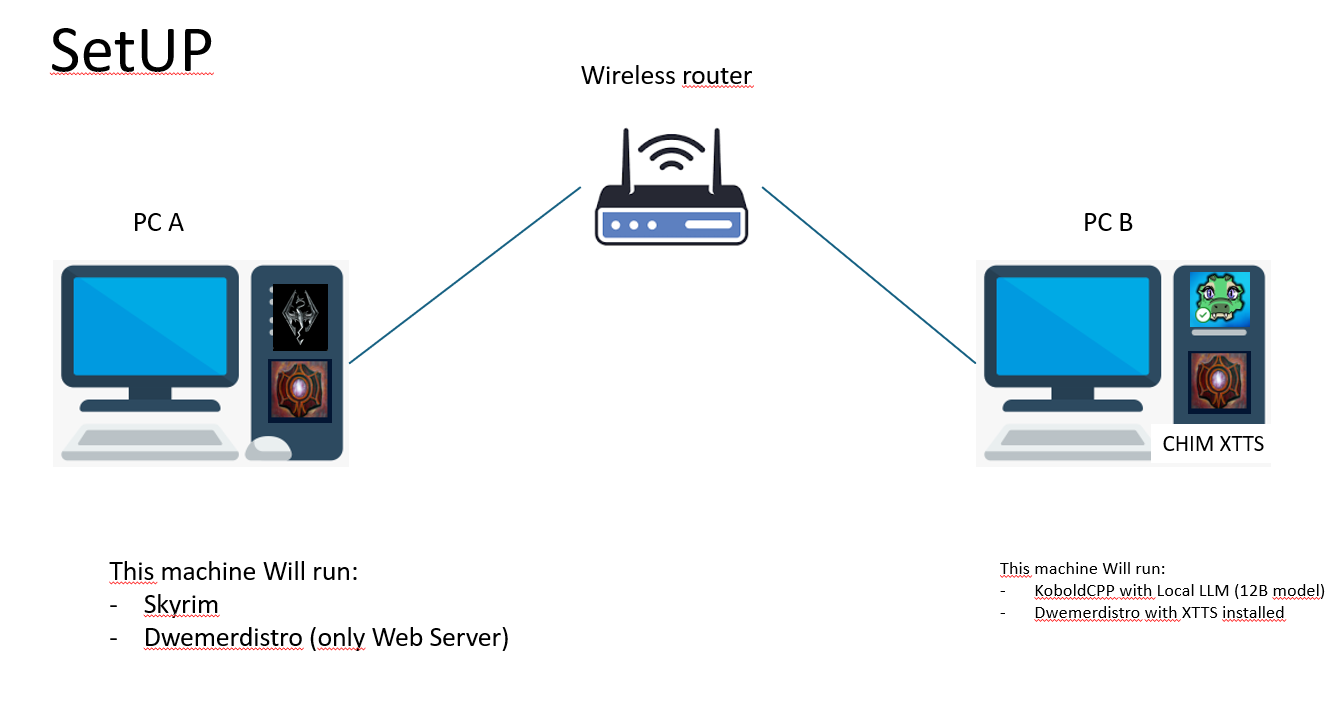
What Each PC Should Run
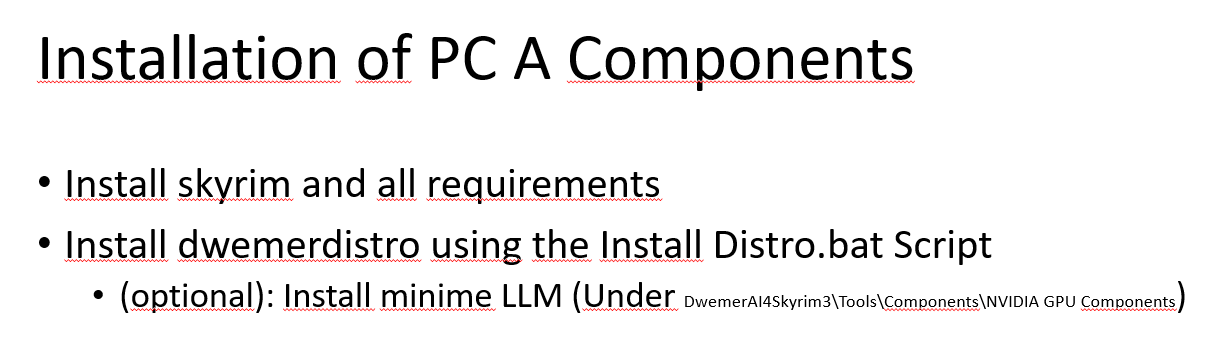
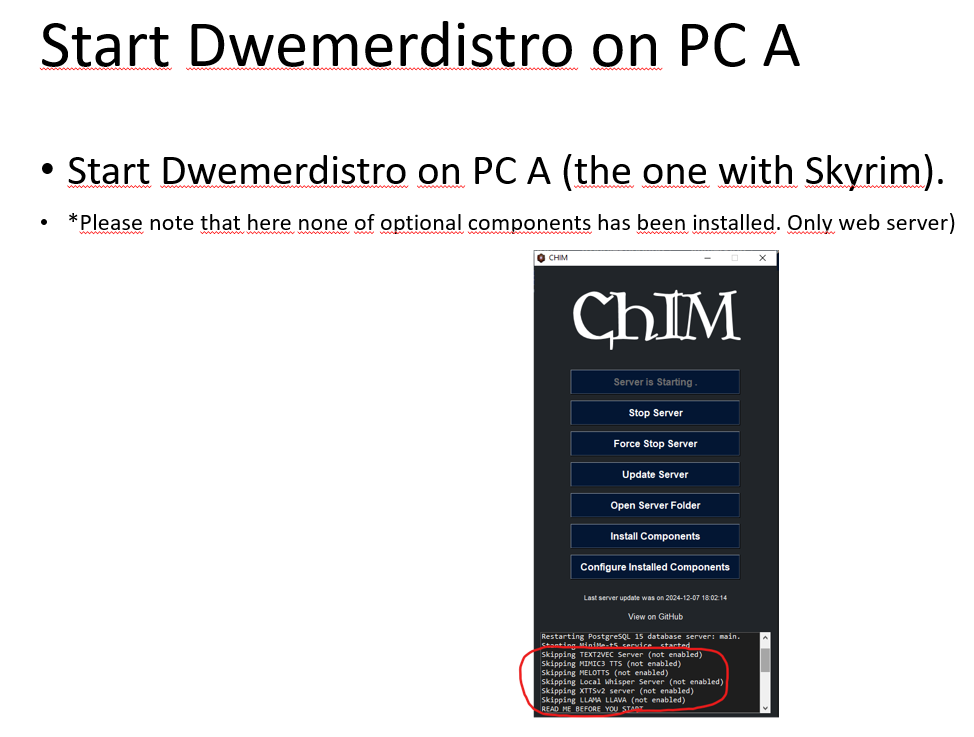
- PC A: Skyrim and the lighter local CHIM side. The old guide used DwemerDistro here as only the web server side.
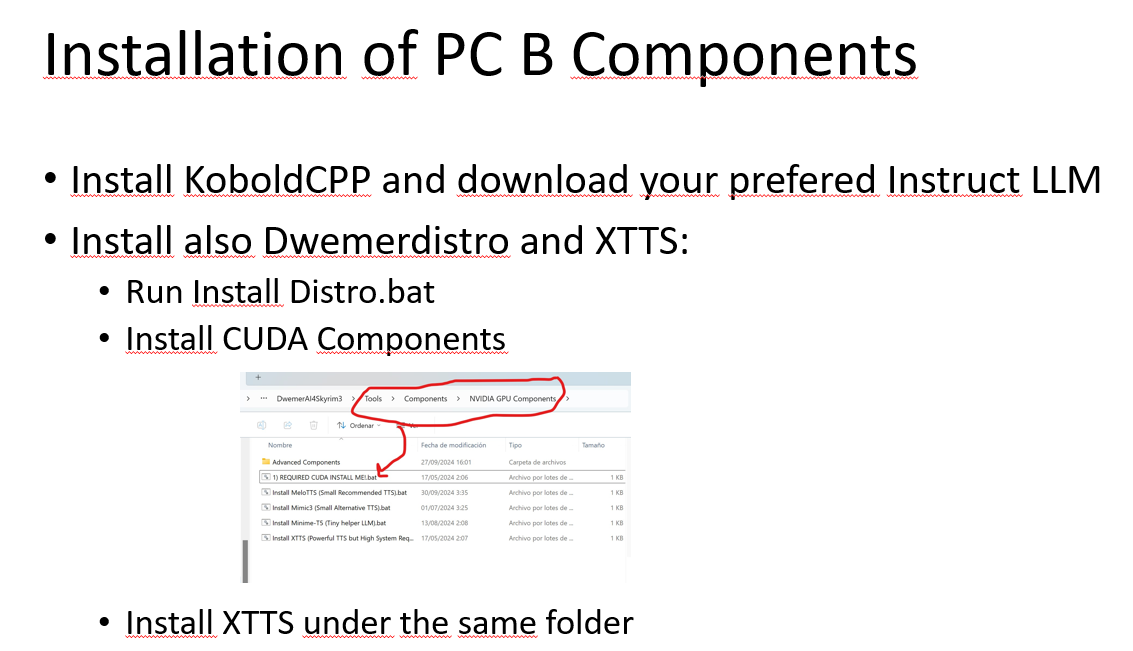
- PC B: your remote model and voice stack. The old guide specifically showed KoboldCPP, DwemerDistro, and XTTS on this machine.
Get The Two Addresses You Need
You need two different addresses from the remote machine:
- The Windows LAN IP: this is the address the game PC will connect to.
- The WSL IP: this is the internal target that Windows will forward traffic into.

ipconfig on PC B and note its IPv4 LAN address.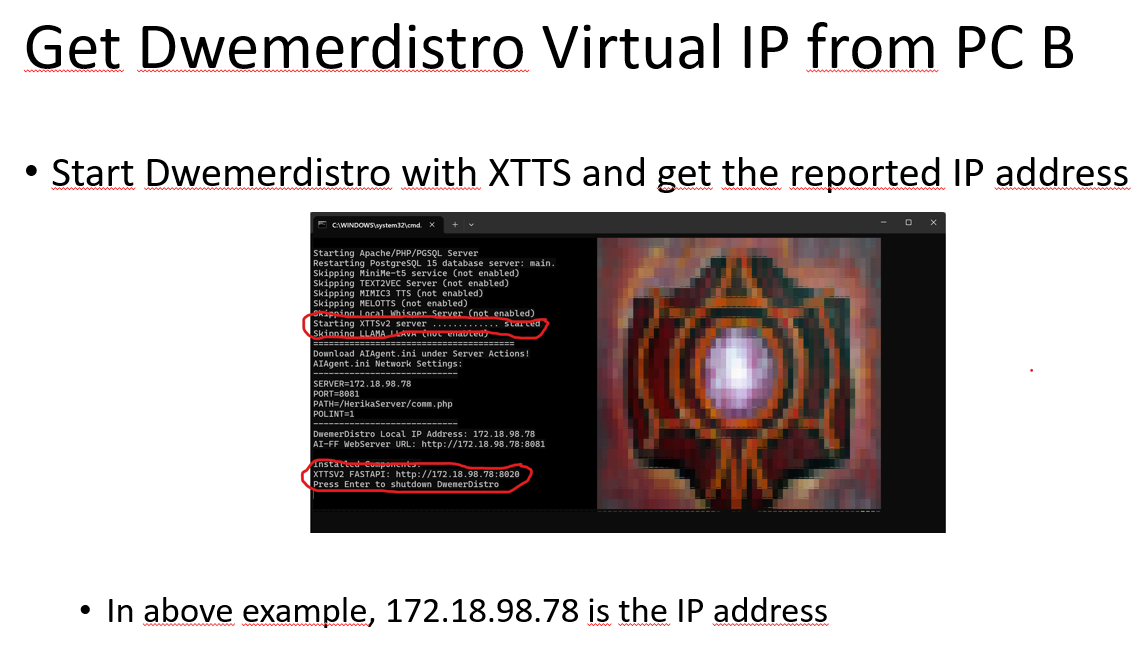
You can also fetch the current WSL address directly with:
wsl hostname -IIf your second-PC setup suddenly stops working later, check this first. WSL IPs can change after restarts.
Forward The WSL Services Through Windows
This is the key fix from the old wiki. If trying to reach WSL_IP:8020 directly from the gaming PC keeps failing, do not keep aiming the game PC at the raw WSL address.
Forward those ports through the Windows host machine instead.
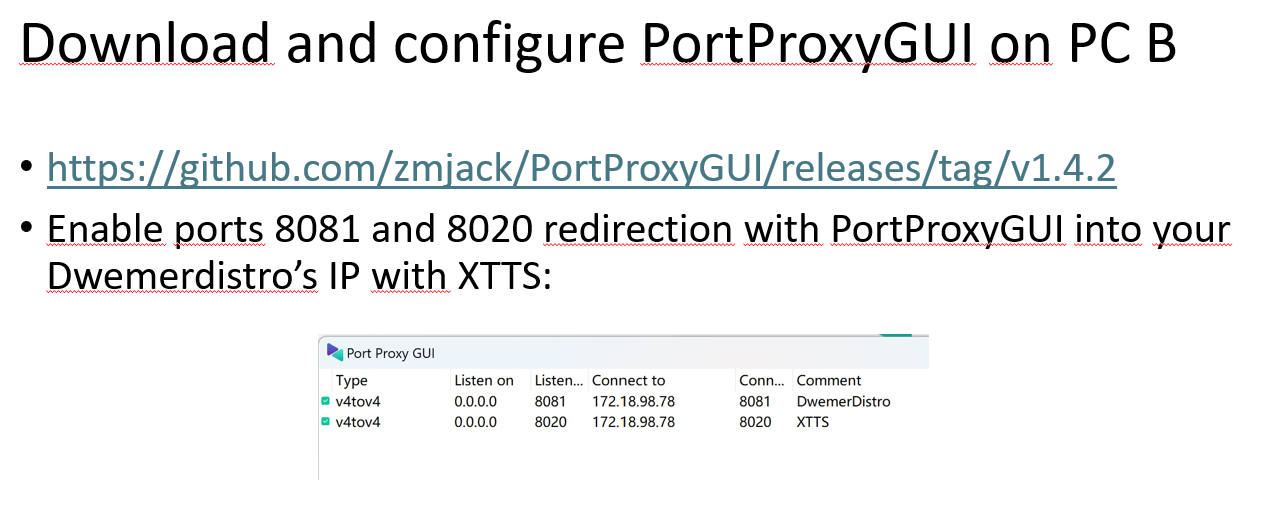
The original guide used two forwarded ports:
- 8081: the CHIM web side
- 8020: XTTS
You can create the rules in an elevated Command Prompt:
netsh interface portproxy add v4tov4 listenport=8081 listenaddress=0.0.0.0 connectport=8081 connectaddress=<WSL_IP>
netsh interface portproxy add v4tov4 listenport=8020 listenaddress=0.0.0.0 connectport=8020 connectaddress=<WSL_IP>
If you prefer a GUI, the old guide also used PortProxyGUI:
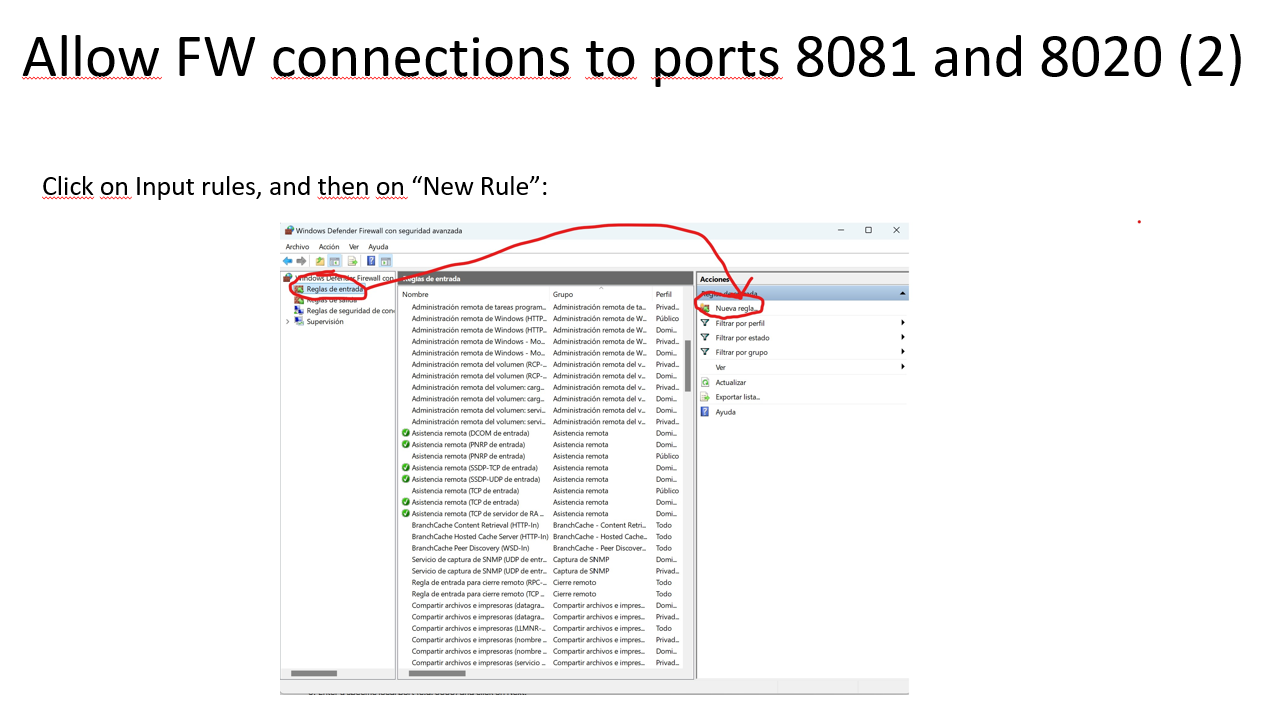
Open The Windows Firewall Ports
The old guide also opened inbound TCP rules for the forwarded ports. If Windows Firewall blocks them, the LAN setup still will not work even if the proxy is correct.
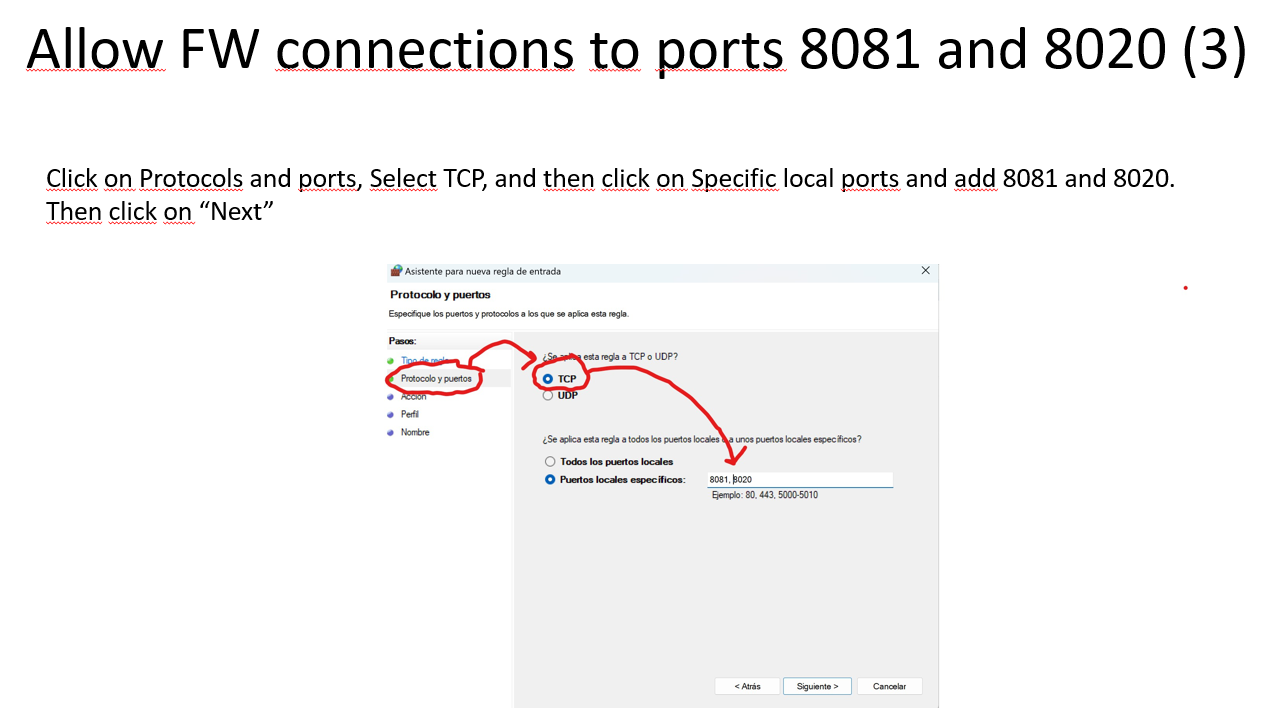
- Create an inbound rule for TCP.
- Allow the connection.
- Add local ports
8081,8020. - Apply it to Domain, Private, and Public if needed for your machine.
Point CHIM On PC A At The Remote Machine
Once PC B is forwarding and accepting traffic, the gaming PC should use the Windows LAN IP of PC B, not the raw WSL address.
- For the web side: open the remote CHIM pages with the PC B LAN IP on port
8081. - For XTTS: use the PC B LAN IP on port
8020inside the CHIM text-to-speech settings.
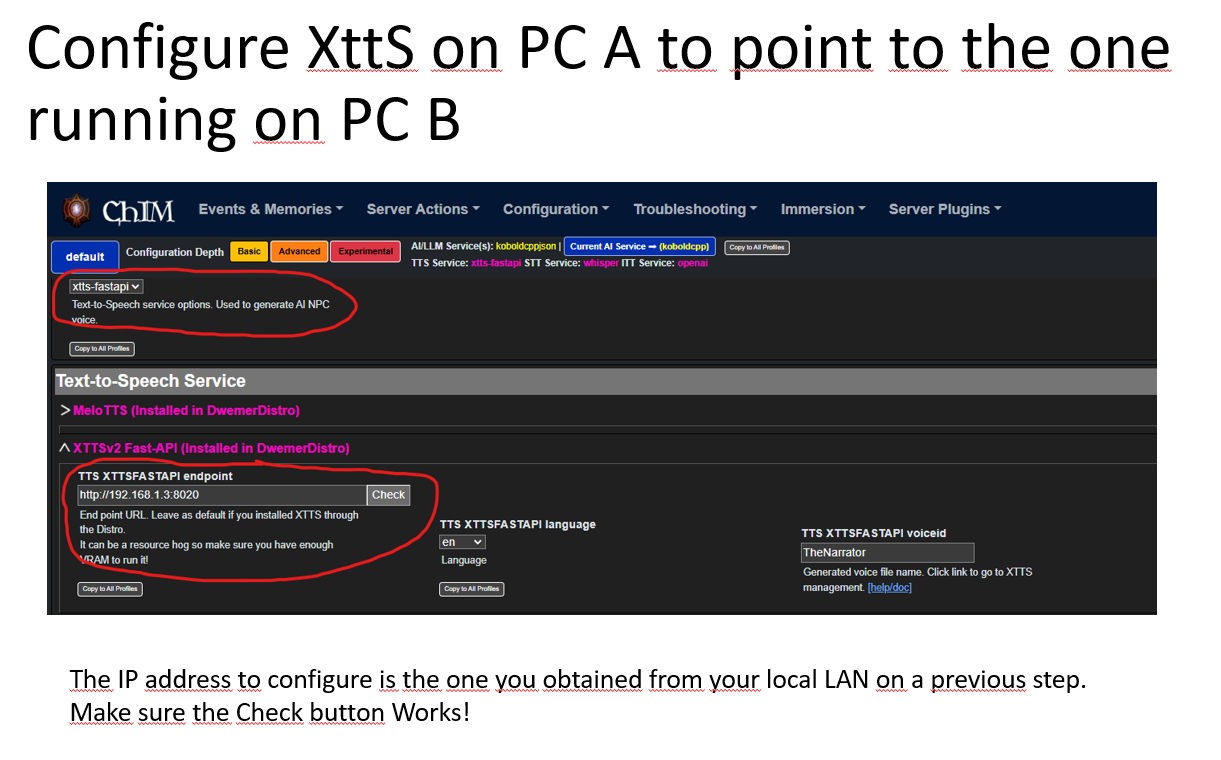
http://192.168.1.3:8020.
In short, use REMOTE_MACHINE_IP:8081 and REMOTE_MACHINE_IP:8020.
That is the core fix the old page was trying to teach.
Quick Troubleshooting Notes
If it still does not work, go through these in order:
- Make sure the service actually works locally on PC B first.
- Confirm the PC B LAN IP with
ipconfig. - Confirm the current WSL IP again with
wsl hostname -I. - Make sure your port-proxy rules still point at the current WSL IP.
- Make sure Windows Firewall allows inbound TCP 8081 and 8020.
- On PC A, use the remote machine IP, not the WSL IP, in the endpoint fields.
Original screenshot walkthrough on the old wiki was credited there to hey_daniel.